Add-In Cards


Adding in your video card, sound card, modem or IDE controllers is easy. Most gamers will want to use an AGP card for their video. An AGP slot is brown in color and is set back into the motherboard and is closest to the CPU. You will have to push a bit to get the video card to seat, but do not push so hard as to break your motherboard.

AGP slot
Leadtek WinFast A380 MyVivo GF FX 5950 Ultra

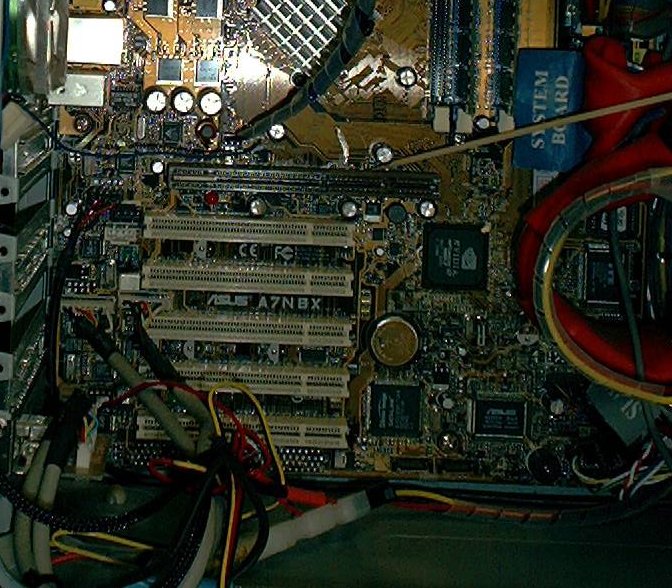
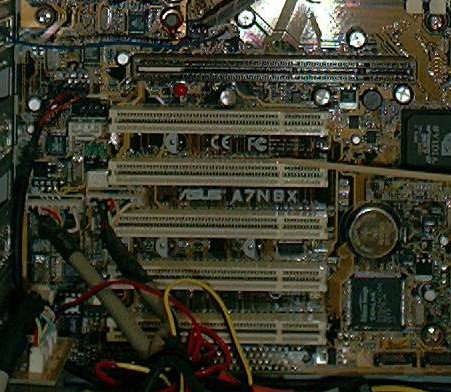
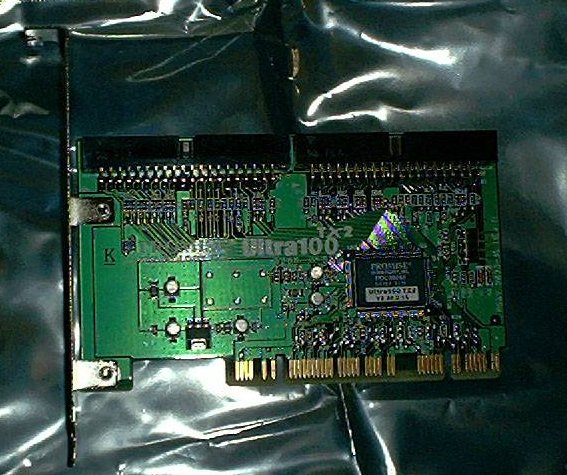
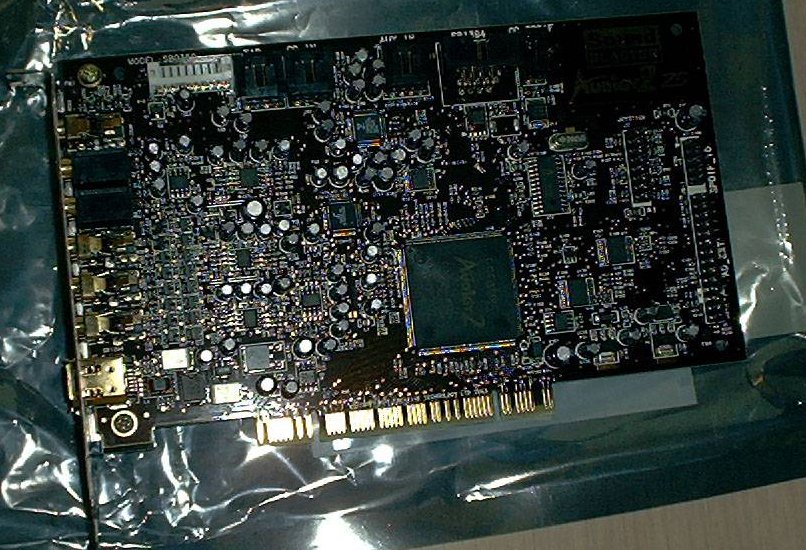
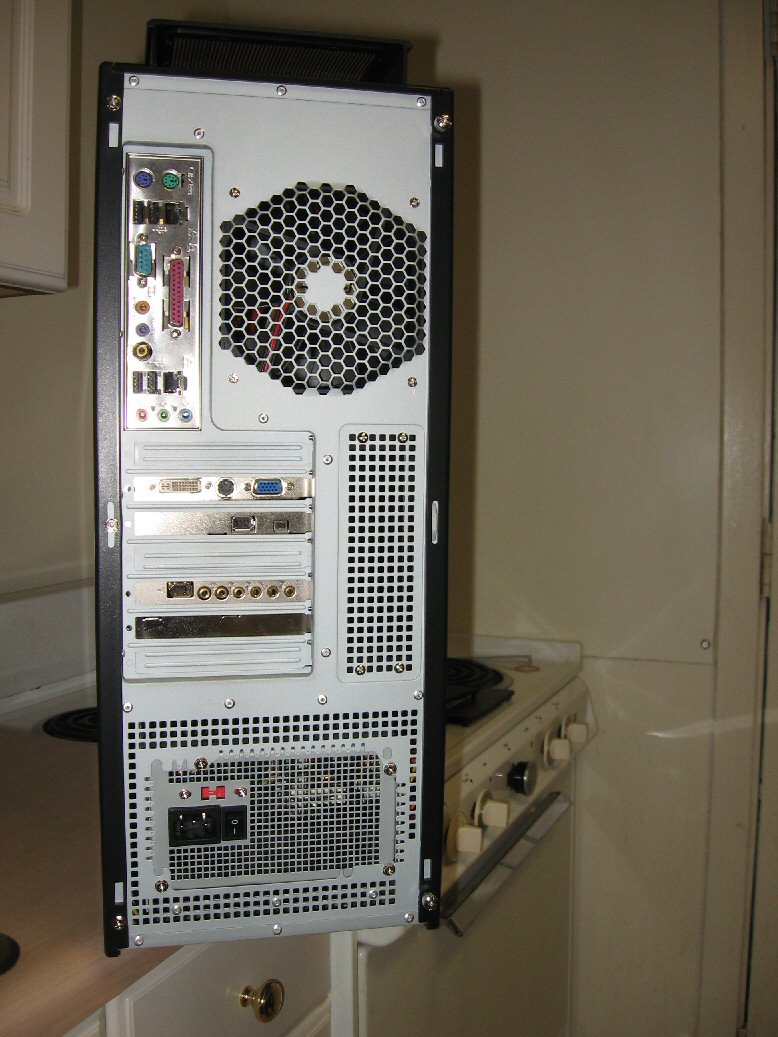
Sound cards, modems, IDE controller etc. all go into PCI slots. They are white in color and are at the bottom of the motherboard and are closer to the edge. I have found that components going into PCI slots are much easier to seat compared to RAM and AGP slots, but you still want to be careful.

PCI Slot

IDE Controller
Audigy 2 ZS Gamer


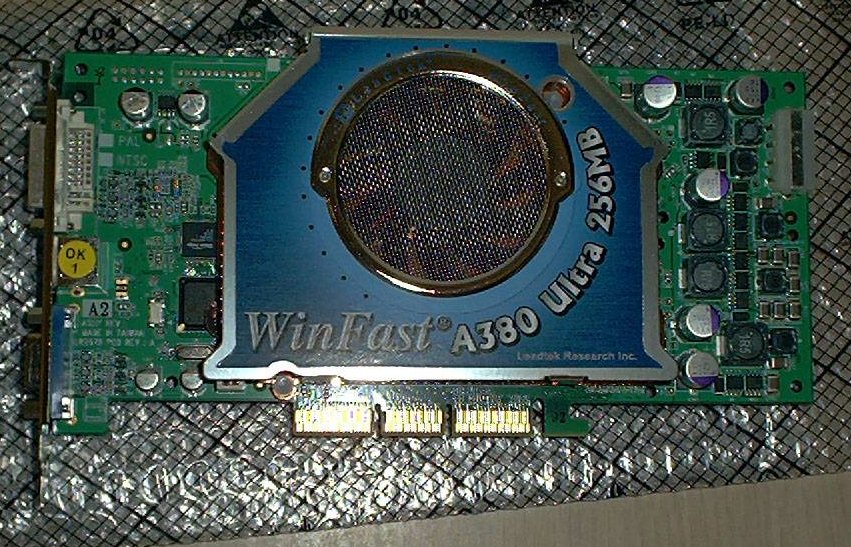
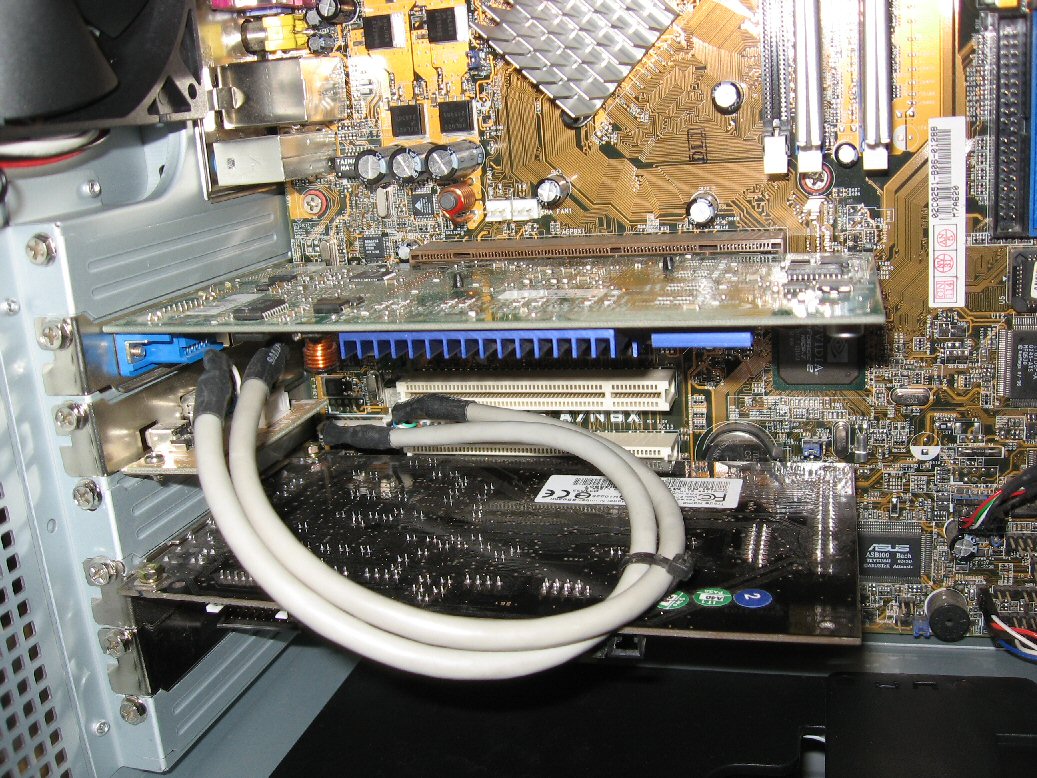
Your add-in cards can be placed in any avialable slot you have. Hopefully, you have purchased a motherboard that has plenty of slots. Some newer video cards require extra space due to cooling solutions or even SLi (using two video cards) set ups which may require even more room. If you have problems with hardware and need to move them around, you will be able to with the extra slots to stop any interference or IRQ conflicts between the hardware.

Add In Cards


Wiring


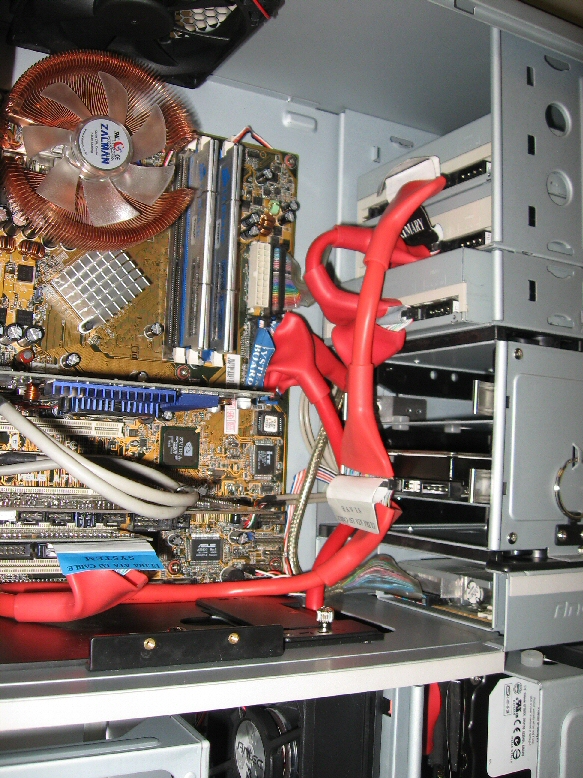
To clean up how your PC looks on the inside and give it better airflow, take the time to wrap the wires in split wrap or split looms then install the PSU if you bought a PSU seperate from the case. You can do this before you install the PSU into the case and is easier than once inside the case. This will make it easier to keep track of the wiring and looks lots neater when finished. Cable ties can be used to tie everything up and can even be used to hold wires in place even as you wrap them up and they also can be use to tie the cables out of the way to keep them from flopping around.

Once you have everything installed hardware wise it is time to install any other items you have like case fans and Cold Cathode Neons. When these are installed take and start connecting your wiring to every thing. Connect any audio cables from the optical drives to the sound card installed earlier. Connect the IDE and floppy drives to their respective connectors on the IDE cables and in their proper slots on the motherboard. Typically the HDs are connected to the primary IDE channel while the optical drives are on the second channel. The connectors are one way connectors, but can be forced into place if not careful. The tab on the connector goes into the notch in either the optical drives or hard drives. The floppy drive is similar,but uses a different and smaller cable.

Wiring for Drives and PS

Connect the power supply rails to the motherboard and to the drives and any extra accessories you have installed in the case including fans and lights. If there are any extra wires from the case fans to monitor fan speen connect them to the proper headers to your motherboard. When everything is connected, take cable ties and tie them to any convenient spot you can find that gets them out of the airflow:
Upper Drive Wiring
Complete Wiring

When you are satisfied with your work, put the side panels back on the case and button it all up. Don't pinch any wires when putting the right side panel on. When you are ready, connect everything to the IO ports on the back of your new system and get ready to start it up for the first time. If you did everything right you should see the post screen once you hit the power button. Enter the BIOS to set everything from CPU and FSB settings to even the date. Your motherboard manual will help you set everything up. Once everything is set you can then install the operating system of your choice and any updates for it along with the other software you plan on using.


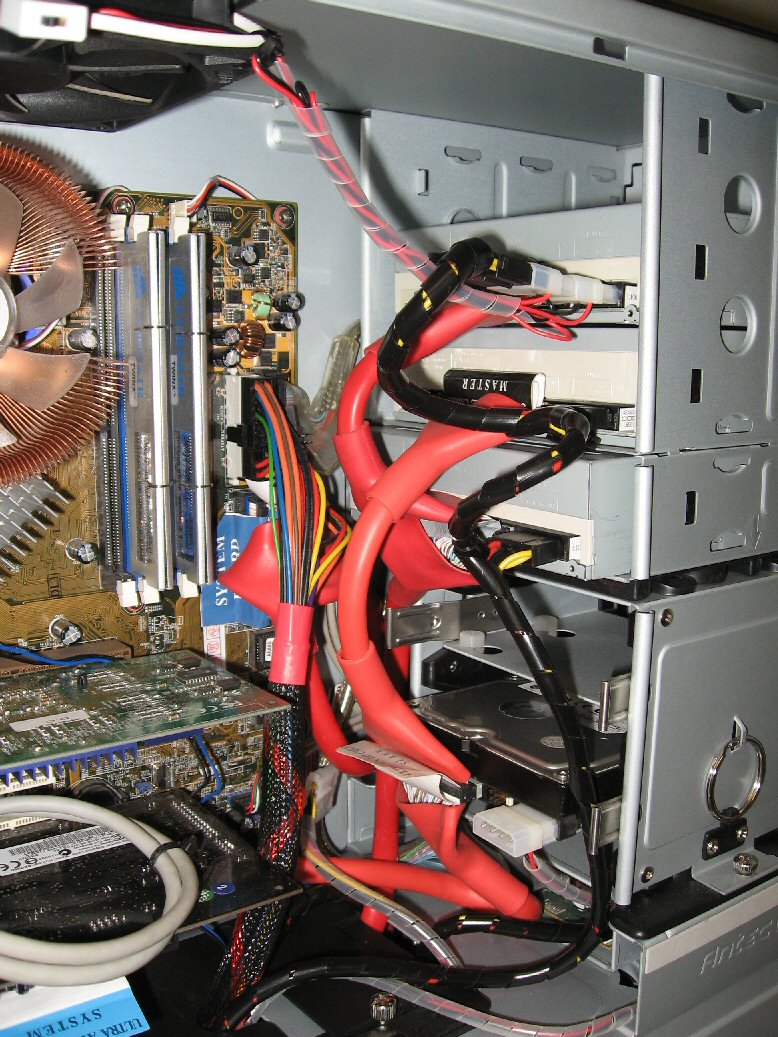
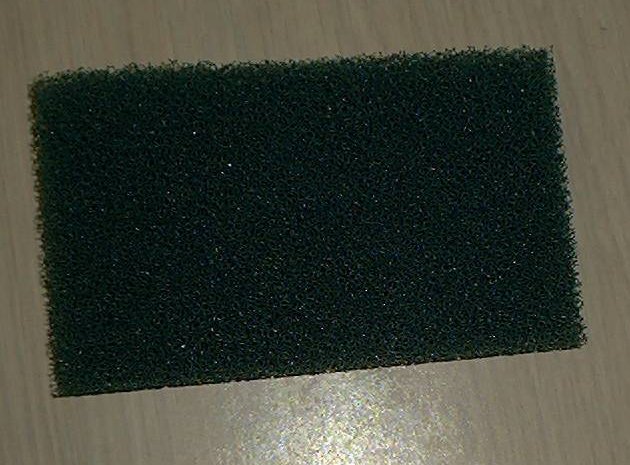
I use a filter to help keep the inside of my PC dust free. I get this open core foam from EquiServe (the diagnostic branch of Snap-On). It comes in 120mmx120mm squares. I put this between the front bezel and the intake fans in the case.

Filter Foam


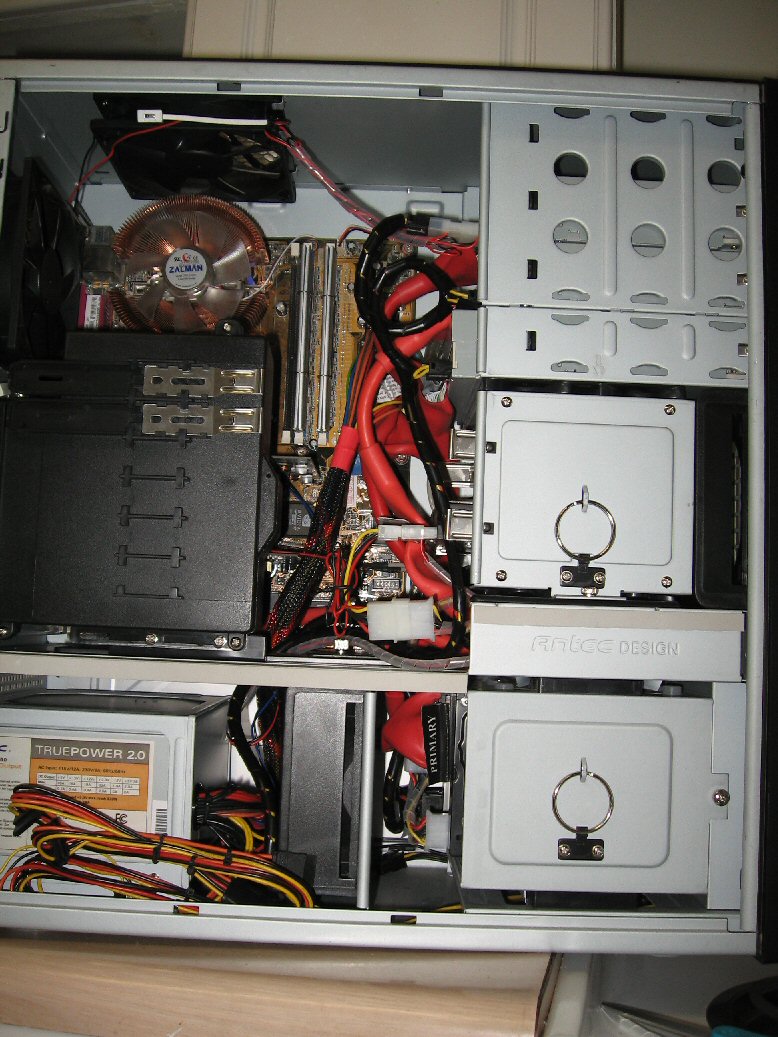
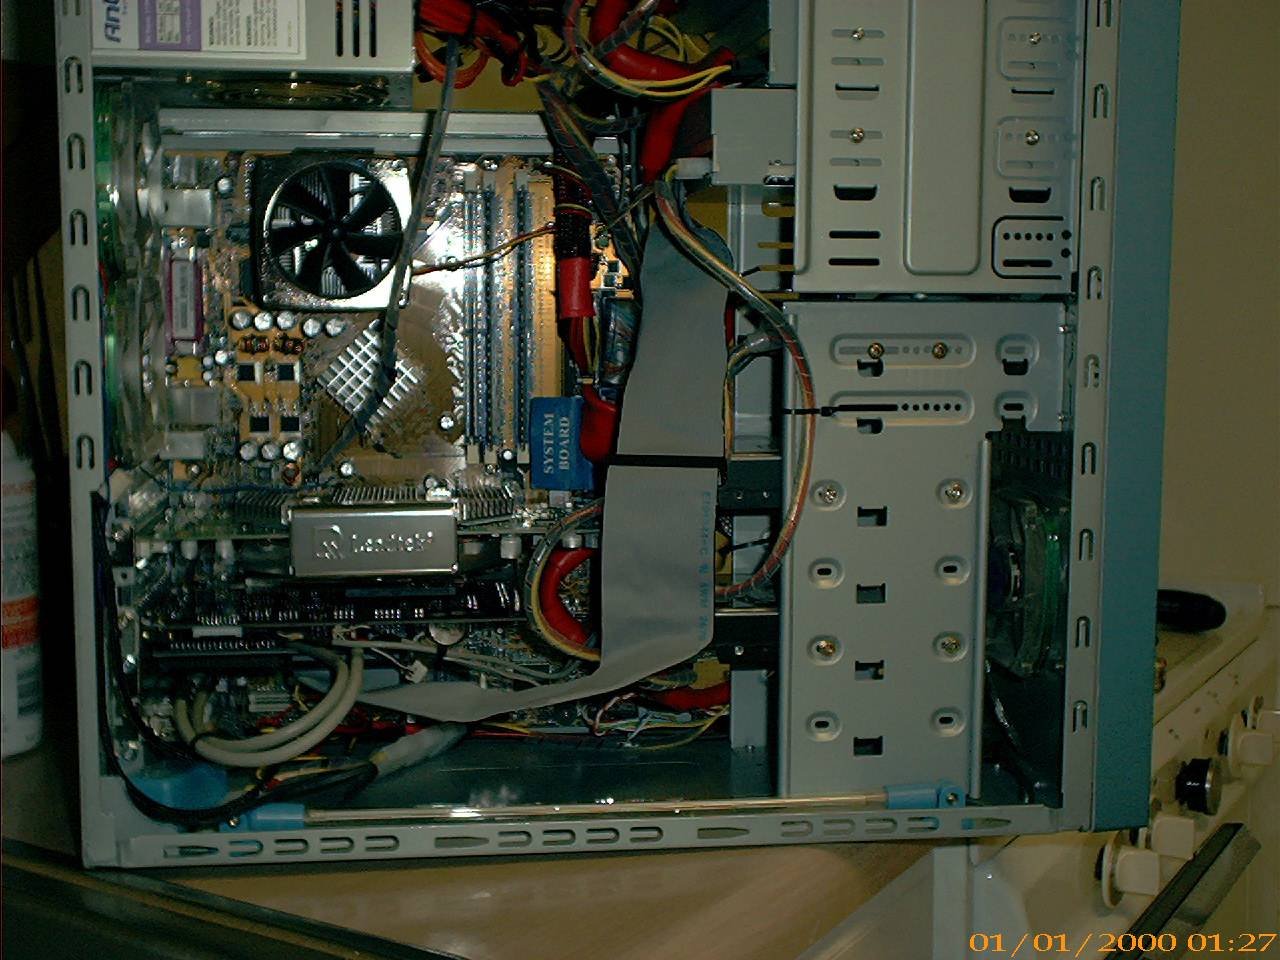
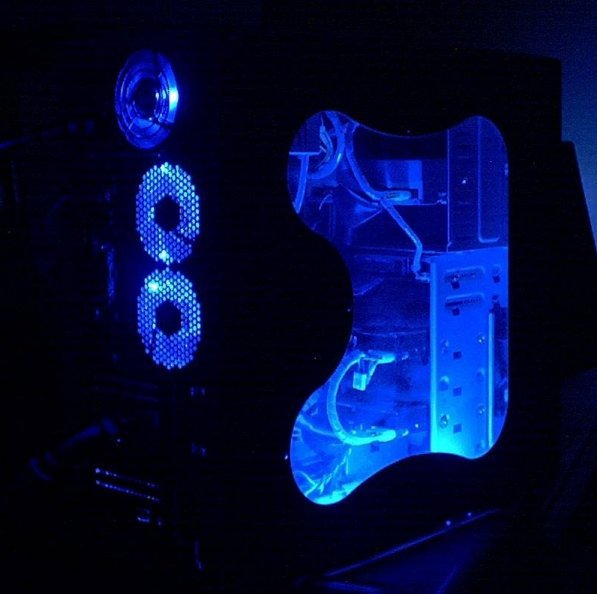
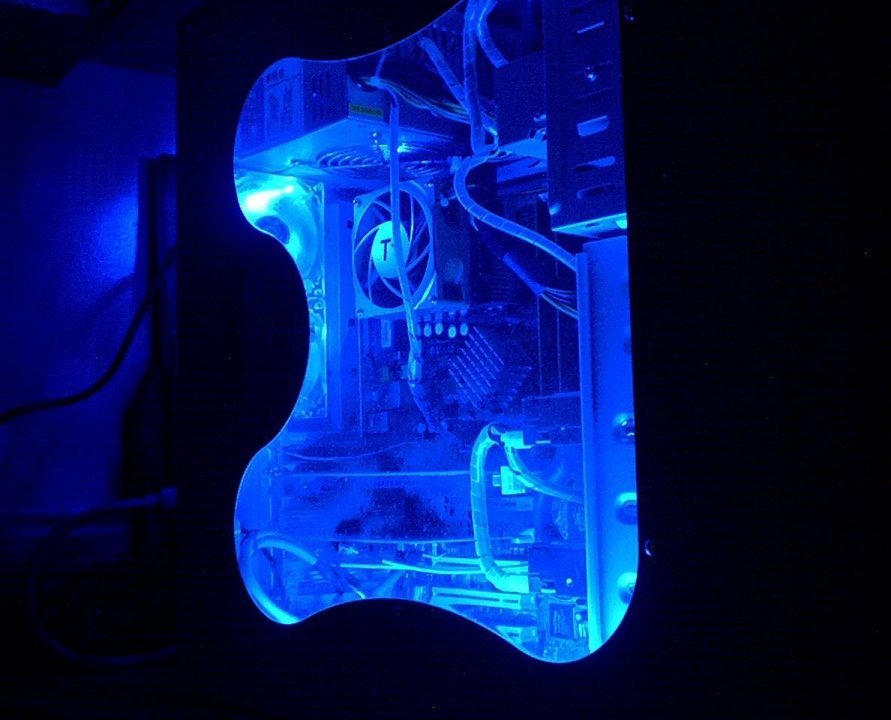
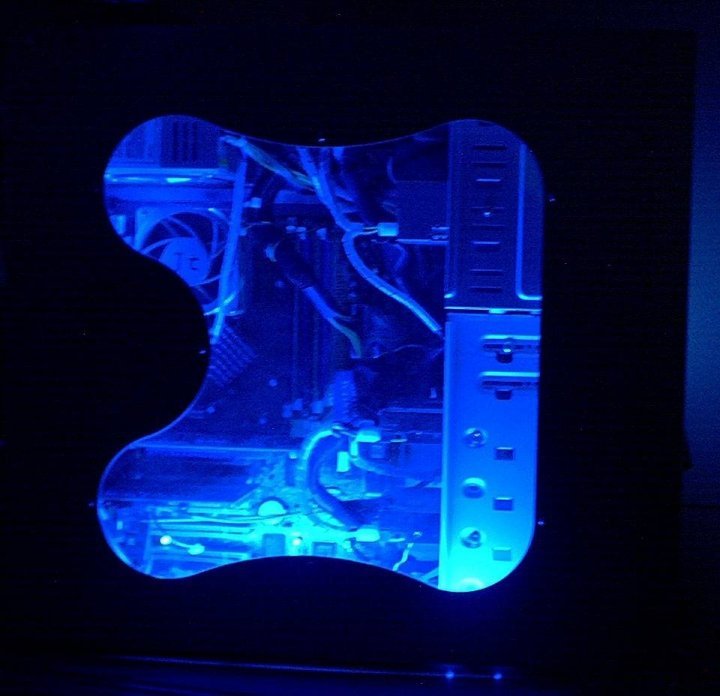
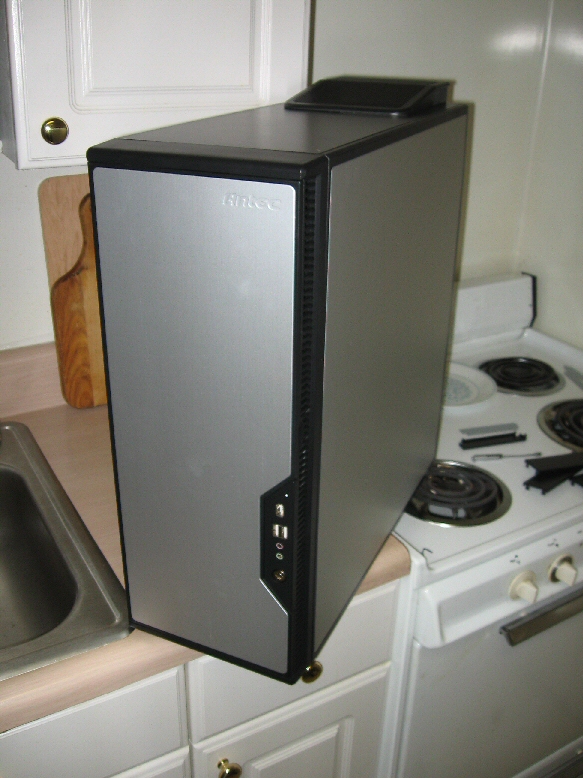
These are pics of various iterations of my PC. Putting the PC with the Comet case together took about 4 hours (including taking the pictures for this guide) and all day to install all the hardware drivers and updates for the operating system.


Updated Pic Of Inside of Case


Rear Lights
Rear lights in the dark
Fan Lights
Lit up


Antec P 180 Case P 180 Case Back

If you have any questions, contact me at .


Copyright © 2001-2006 WhiteKnight77


Updated 8-2-2006